 |
| Black with white lettering |
 |
| Silver with black lettering |
 |
| Instructions for the Tiffen control ring. |
|
| Black with white lettering |
|
| Silver with black lettering |
|
| Instructions for the Tiffen control ring. |
 |
| Front |
 |
| Rear |
 |
| Top |
 |
| Bottom |
 |
| Interior |
 |
| Ready to take a picture |
 |
| After taking a picture |
The body of the camera is made from aluminum and the dimensions are roughly 4-1/4 inches wide by 2-3/4 inches high by 2-1/2 inches deep. The camera has the controls on the lens, which was normally the case on leaf shutter cameras. The lens is an f/3.2-f/22, 44mm, coated Wollensak Anastigmat. The shutter is a Bolsey Wollensak Synchromatic leaf shutter. The back of the camera comes off for loading film. The path between the film cassette and the take-up spool is shorter than usual, and Bolsey ads claimed that you could get four extra pictures on a roll of film if you were careful about loading film.
The shutter release sets and releases the shutter in one motion. The shutter has a moving peg that pops up to stop the shutter release from resetting after you take a picture. The peg retracts when the film is wound and this allows the shutter release to reset. To make a deliberate double exposure you push in the peg to allow the shutter release to reset.
The back of the camera has a depth of field calculator based on a circle of confusion of 0.05mm or 1/500 inch, which was typical for a miniature camera at the time, and a film reminder dial for Panatomic X (Kodak), Daylight Anscocolor, Tungsten Anscocolor, Daylight Kodachrome, Type A Kodachrome, Ultra Speed Pan (Ansco), Super XX (Kodak), Supreme (Ansco), Plus X (Kodak) and a blank space for when there is no film in camera. None of the films are still in production.
The flasholder plugs into the openings on the left rear of the camera and takes a #5 or #25 flash bulb.
There are no strap lugs. If you want a neck strap you need to use the leather camera case. You also can use a strap that screws into the tripod socket.
A filter kit with a lens hood was available. The lens takes a 24 mm series V adapter ring.
The Bolsey B2 is small and cute. According to "Brass, Glass and Chrome" the camera was especially popular with women photographers. You need to be careful with the shutter release to avoid camera shake.
 |
| Cimberland Mountain State Park, Crossville, Tennessee. Ilford HP5 film. |
Because of the wave nature of light, the image of a distant point of light is not an infinitesimal point, but a finite disc surrounded by a series of concentric rings. The Royal Astronomer Sir George Airy worked out the mathematics of the effect of diffraction on an image in 1835. The size of the disc depends on the diameter of the lens and the wavelength of light and is given by the approximate formula
r = 1.22 * l * f / d
r is the radius of the disc
l is the wavelength of light
f is the focal length of the lens
d is the diameter of the lens.
f / d being the focal ratio of a lens, we can use the focal ratio, N, instead of f / d.
r = 1.22 * l * N
In photography the diameter of the circle of confusion is usually used, so the diameter of the circle of confusion produced by diffraction is twice the radius of the Airy disc.
c = 2.44 * I * N
The wavelength of visible light ranges from about 400nm to about 700nm. Using the middle of the range, 550nm, we get
c = 0.0011342 * N (in millimeters)
or
N = 882 * c
For an image to be seen as sharp in the final print the largest circle of confusion should be no more than the resolving power of the human eye viewing the final print at a comfortable distance. Diffraction producing that much blur begins to affect the image quality.
On a 36x24mm, full frame sensor, c is typically given as 0.03mm.
N = 882 * 0.03
N = 26
Most full frame lenses stop down only to f/16. A few stop down to f/22 or even f/32 (to increase depth of field).
On a 17.3x13mm, Micro 4/3rds sensor, c is typically given as 0.0.15mm.
N = 882 * 0.015
N = 13
Under ordinary circumstances you would not stop down the lens on a Micro 4/3rds camera to more than f/11.
Photographers like to call the blurred quality of a background in a portrait "bokeh." You can get a numerical value for the size of the blur circle (circle of confusion) from an out of focus point of light at infinity starting with the thin lens formula:
1/f = 1/u + 1/v
f is the focal length of the lens, u is the distance from the lens to the object and v is the distance from the lens to the image. When u is infinite 1/f = 1/v. The distance from the lens to the image is equal to the focal lens of the lens. You could express 1/v as 1/(f+e), with e being the distance the image moves as you focus on objects closer than infinity. With a little algebra you can derive a formula for e as
e = f^2 / (u - f)
The amount of blur you get for an out of focus distant object is
b = e / N
where N is the focal ratio of the lens.
Finally, the blurriness of the image on the final print depends on how much the image is enlarged. A Micro 4/3rds image has to be enlarged twice as much as a full frame image to make the same size print.
Let's aim our cameras at a subject 3m (10 ft) away. We'll use a full frame digital camera with a 50mm lens set at f/2.8 and a Micro 4/3rds camera with a 25mm lens set at f/1.4. The 50mm lens on a full frame camera has the same field of view as a 25mm lens on a Micro 4/3rds camera. Both cameras see the same perspective because both are at the same distance from the subject.
Full Frame (36mm x 24mm)
f = 50mm
u = 3,000mm
N = 2.8
b = 50^2 / ((3,000 - 50) * 2.8)
b = 0.30
Enlarge the image 8 times to make an 8x10 print and you get a 2.4 mm blur circle.
Micro 4/3rds (17.3mm x 13mm)
f = 25mm
u = 3,000mm
N = 1.4
b = 25^2 / ((3,000 - 25) * 1.4)
b = 0.15
Enlarge the image 16 times to make an 8x10 print and you get the same 2.4mm blur circle.
When you set up for the same perspective and field of view, to get the same background blur you need to open the aperture twice as much on the Micro 4/3rds camera as on the full frame camera.
Kodak Vision3 camera film normally is developed for 3 minutes at 41 C (106 F). If the film has been underexposed it needs to be overdeveloped by increasing the development time (pushing the film). If the film has been overexposed it needs to be underdeveloped by reducing the development time (pulling the film). Kodak recommends the following developing times for all Vision3 films:
Push +2 stops: 4 minutes 40 seconds (56% increase)
Push +1 stop: 3 minutes 40 seconds (22% increase)
Normal: 3 minutes
Pull -1 stop: 2 minutes 30 seconds (17% decrease)
Rapid development times are needed for motion picture film because such large volumes are involved. A 35 mm print for a feature film will have a mile or more of footage, and the production company may expose more camera film than will go into the final print by a factor of 4 or more.
Commercial labs use automated machines to eliminate the human factor. For developing by hand in a small tank at home it is recommended to have developing times at least 5 minutes long to get consistent results. Reducing the developer temperature will increase the time needed to process the film, but may result in a color shift. Some experimentation will be needed.
You see a lot of hand waving explanations of the effect of sensor size on depth of field. I thought I'd do a little math on the subject. Let's make three hypothetical pictures of a subject with three hypothetical cameras and keep the camera parameters as similar as we can.
The perspective of our picture depends on the distance from the camera to the subject. The field of view of our picture depends on the focal length of the lens and the size of the image sensor. A full frame camera (36x24mm sensor), an APS-C camera (24x16mm or 22.5x15mm sensor) and a Micro 4/3rds camera (17.3x13mm sensor) will have the same perspective of a subject 10' (3m) away. A full frame camera with a 50mm lens, an APS-C camera with a 35mm lens, and a Micro 4/3rds camera with a 25mm lens have about the same field of view.
The maximum tolerable amount of blur on our final print usually is given as a circle about 0.25mm in diameter. To make an 8x10 (20cm x 25cm) print the images produced by each camera have to be enlarged by different amounts, and the tolerable blur circle on the sensor depends on the amount of enlargement. The image on a full frame digital camera will need to be enlarged 8 times, making the tolerable blur circle on the sensor 0.25 / 8 or about 0.031mm. An image from a DX digital camera needs to be enlarged 12 times, making the tolerable blur circle 0.25 / 12 or about 0.021mm. The Micro 4/3rds camera needs to be enlarged 16 times, making its tolerable circle 0.25 / 16 or about 0.016mm.
The hyperfocal distance is the distance a lens can be focused and have objects in sharp enough focus from infinity to 1/2 of the hyperfocal distance. The hyperfocal distance depends on the focal length of the lens, the focal ration of the lens, and the tolerable blur circle (also called the circle of confusion). A formula for calculating the hyperfocal distance of a lens is H = f^2/(N * c). H is the hyperfocal distance, f is the focal length of the lens, N is the focal ratio of the lens, and c is the diameter of the circle of confusion.
The near and far limits of acceptable focus depend on the hyperfocal distance (H) and the distance the lens is focused (u). The distance to the nearest point in focus is given by R = H * u / (H + u). The distance to the farthest point in focus is given by S = H * u / (H - u). The total depth of field is T = S - R.
Let's take pictures of a subject 3m (10 ft) away and calculate the depth of field for each camera. We'll set the lenses at f/2.8.
Full frame digital:
H = 50^2 / (2.8 * 0.031) = 28,802mm or 28.8m
R = 28.8 * 3 /(28.8+3) = 2.7m
S = 28.8 * 3 /(28.8-3) = 3.3m
T = 3.3 - 2.7 = 0.6m
APS-C digital:
H = 35^2 / (2.8 * 0.021) = 20,833mm or 20.8m
R = 20.8 * 3 / (20.8 + 3) = 2.6m
S = 20.8 * 3 / (20.8 - 3) = 3.5m
T = 3.5 - 2.6 = 0.9m
Micro 4/3rds (17.3 x 13 mm) digital:
H = 25^2 / (2.8 * 0.016) = 13,951mm or 14.0m
R = 14.0 * 3 / (14.0 + 3) = 2.5m
S = 14.0 * 3 / (14.0 - 3) = 3.8m
T = 3.8 - 2.5 = 1.3m
The Micro 4/3rds camera has about twice the total depth of field as the full frame camera. The APS-C camera has about 1-1/2 times the total depth of field as the full frame camera. In general, to get the same depth of field as a full frame camera the aperture of the Micro 4/3rd camera needs to be twice that of the full frame camera (for example f/1.4 instead of f/2.8).
An at-home pre-bath for removing the remjet layer from Kodak Vision3 motion picture film.
Start with about 800 mL of distilled water.
Add about 156 g of washing soda (sodium carbonate decahydrate) and stir until
dissolved.
Add about 19 g of baking soda (sodium bicarbonate) and stir until dissolved.
Dissolve the solids completely, then add enough distilled
water to make 1 L.
The pre-bath will have a pH of about 10 (alkaline). The solids are easy to dissolve. Washing soda and baking soda are not dangerous. If you don’t already have them at home, you can find washing soda in the laundry section of a supermarket and baking soda in the baking section. Washing soda and baking soda are cheap enough that the pre-bath can be used once and thrown away. You can filter and save the pre-bath for reuse if you're frugal.
To use, load the developing tank with film, then fill the tank with the pre-bath. Agitate vigorously and continuously for about 3 minutes. Pour out the pre-bath. Wash by filling the tank with tap water, agitating for about a minute, and dumping the water. Repeat the washes until the water comes out clear and wash once more for good measure. It will take several washes. The pre-bath and wash water need to be close to the temperature of the developer you are going to use, usually 41 C (106 F). After the remjet is removed you can develop the film following the instructions for your favorite C-41 or ECN-2 developing kit (like the FPP C-41 Home Development Kit or the FPP ECN-2 Home Developing Kit from the Film Photography Project Store). After the final rinse I like to dunk the developed film in Photo-Flo diluted 1:200 with distilled water before hanging it up to dry. While the film is hanging I use Kimwipes wetted with diluted Photo-Flo to wipe off the last of the remjet from the base side of the film. Kimwipes won't scratch or leave lint. You can get them from Amazon and others.
My recipe is based on the sodium carbonate pre-bath recipe from the Kodak publication Processing KODAK Motion Picture Films, Module 7, Process ECN-2 Specifications, which you can download from https://www.kodak.com/content/products-brochures/Film/Processing-KODAK-Motion-Picture-Films-Module-7.pdf. Here is the Kodak sodium carbonate pre-bath recipe:

I replaced the anhydrous sodium carbonate with sodium carbonate decahydrate (washing soda). The molar mass of the decahydrate form is 286 and the molar mass of the anhydrous form is 106, making the required ratio of decahydrate to anhydrous 286/106. 58 times 286 divided by 106 gives 156 as the weight of sodium carbonate decahydrate needed. Because I used distilled water, I omitted the KODAK Anti-Calcium, No. 4, which is normally used to prevent calcium scum forming due to hard water. I also omitted the Kodak Stabilizer Additive (TRIDECETH-4 according to information in the MSDS), which is a surfactant. It probably helps to un-stick the remjet layer from the base side of the film. The pre-bath seems to work well enough without it. I kept the sodium bicarbonate (baking soda), which probably acts as a buffer. You might be able to omit the baking soda and increase the washing soda to compensate. I used a digital kitchen scale to measure weights. I don’t think you need to be very precise. Supermarket washing soda and baking soda aren't exactly chemically pure, anyway. By the way, 156 grams of washing soda is about 2/3 cup and 19 grams of baking soda is about 1 tablespoon plus 1 teaspoon in kitchen measures.
Because solutions mixed from color developing kits have limited shelf lives, it is a good idea to save up your exposed color film and process several rolls at once in freshly mixed solutions. Some remjet will remain in the developing tank when you are finished developing. The tank and reels will need to be washed with soap and water.


This is a Ciro-flex model F twin reflex camera made just after Graflex took over the Ciro-flex line and while it was still using the Ciro-flex name. The camera body is formed from steel finished in black enamel paint with black leatherette and chrome knobs. It has the typical twin lens reflex camera configuration. 1/4"-20 tripod sockets are on the bottom and the left side. It weighs 2 lb. 5 oz. (1.05 kg) with a roll of film inside.
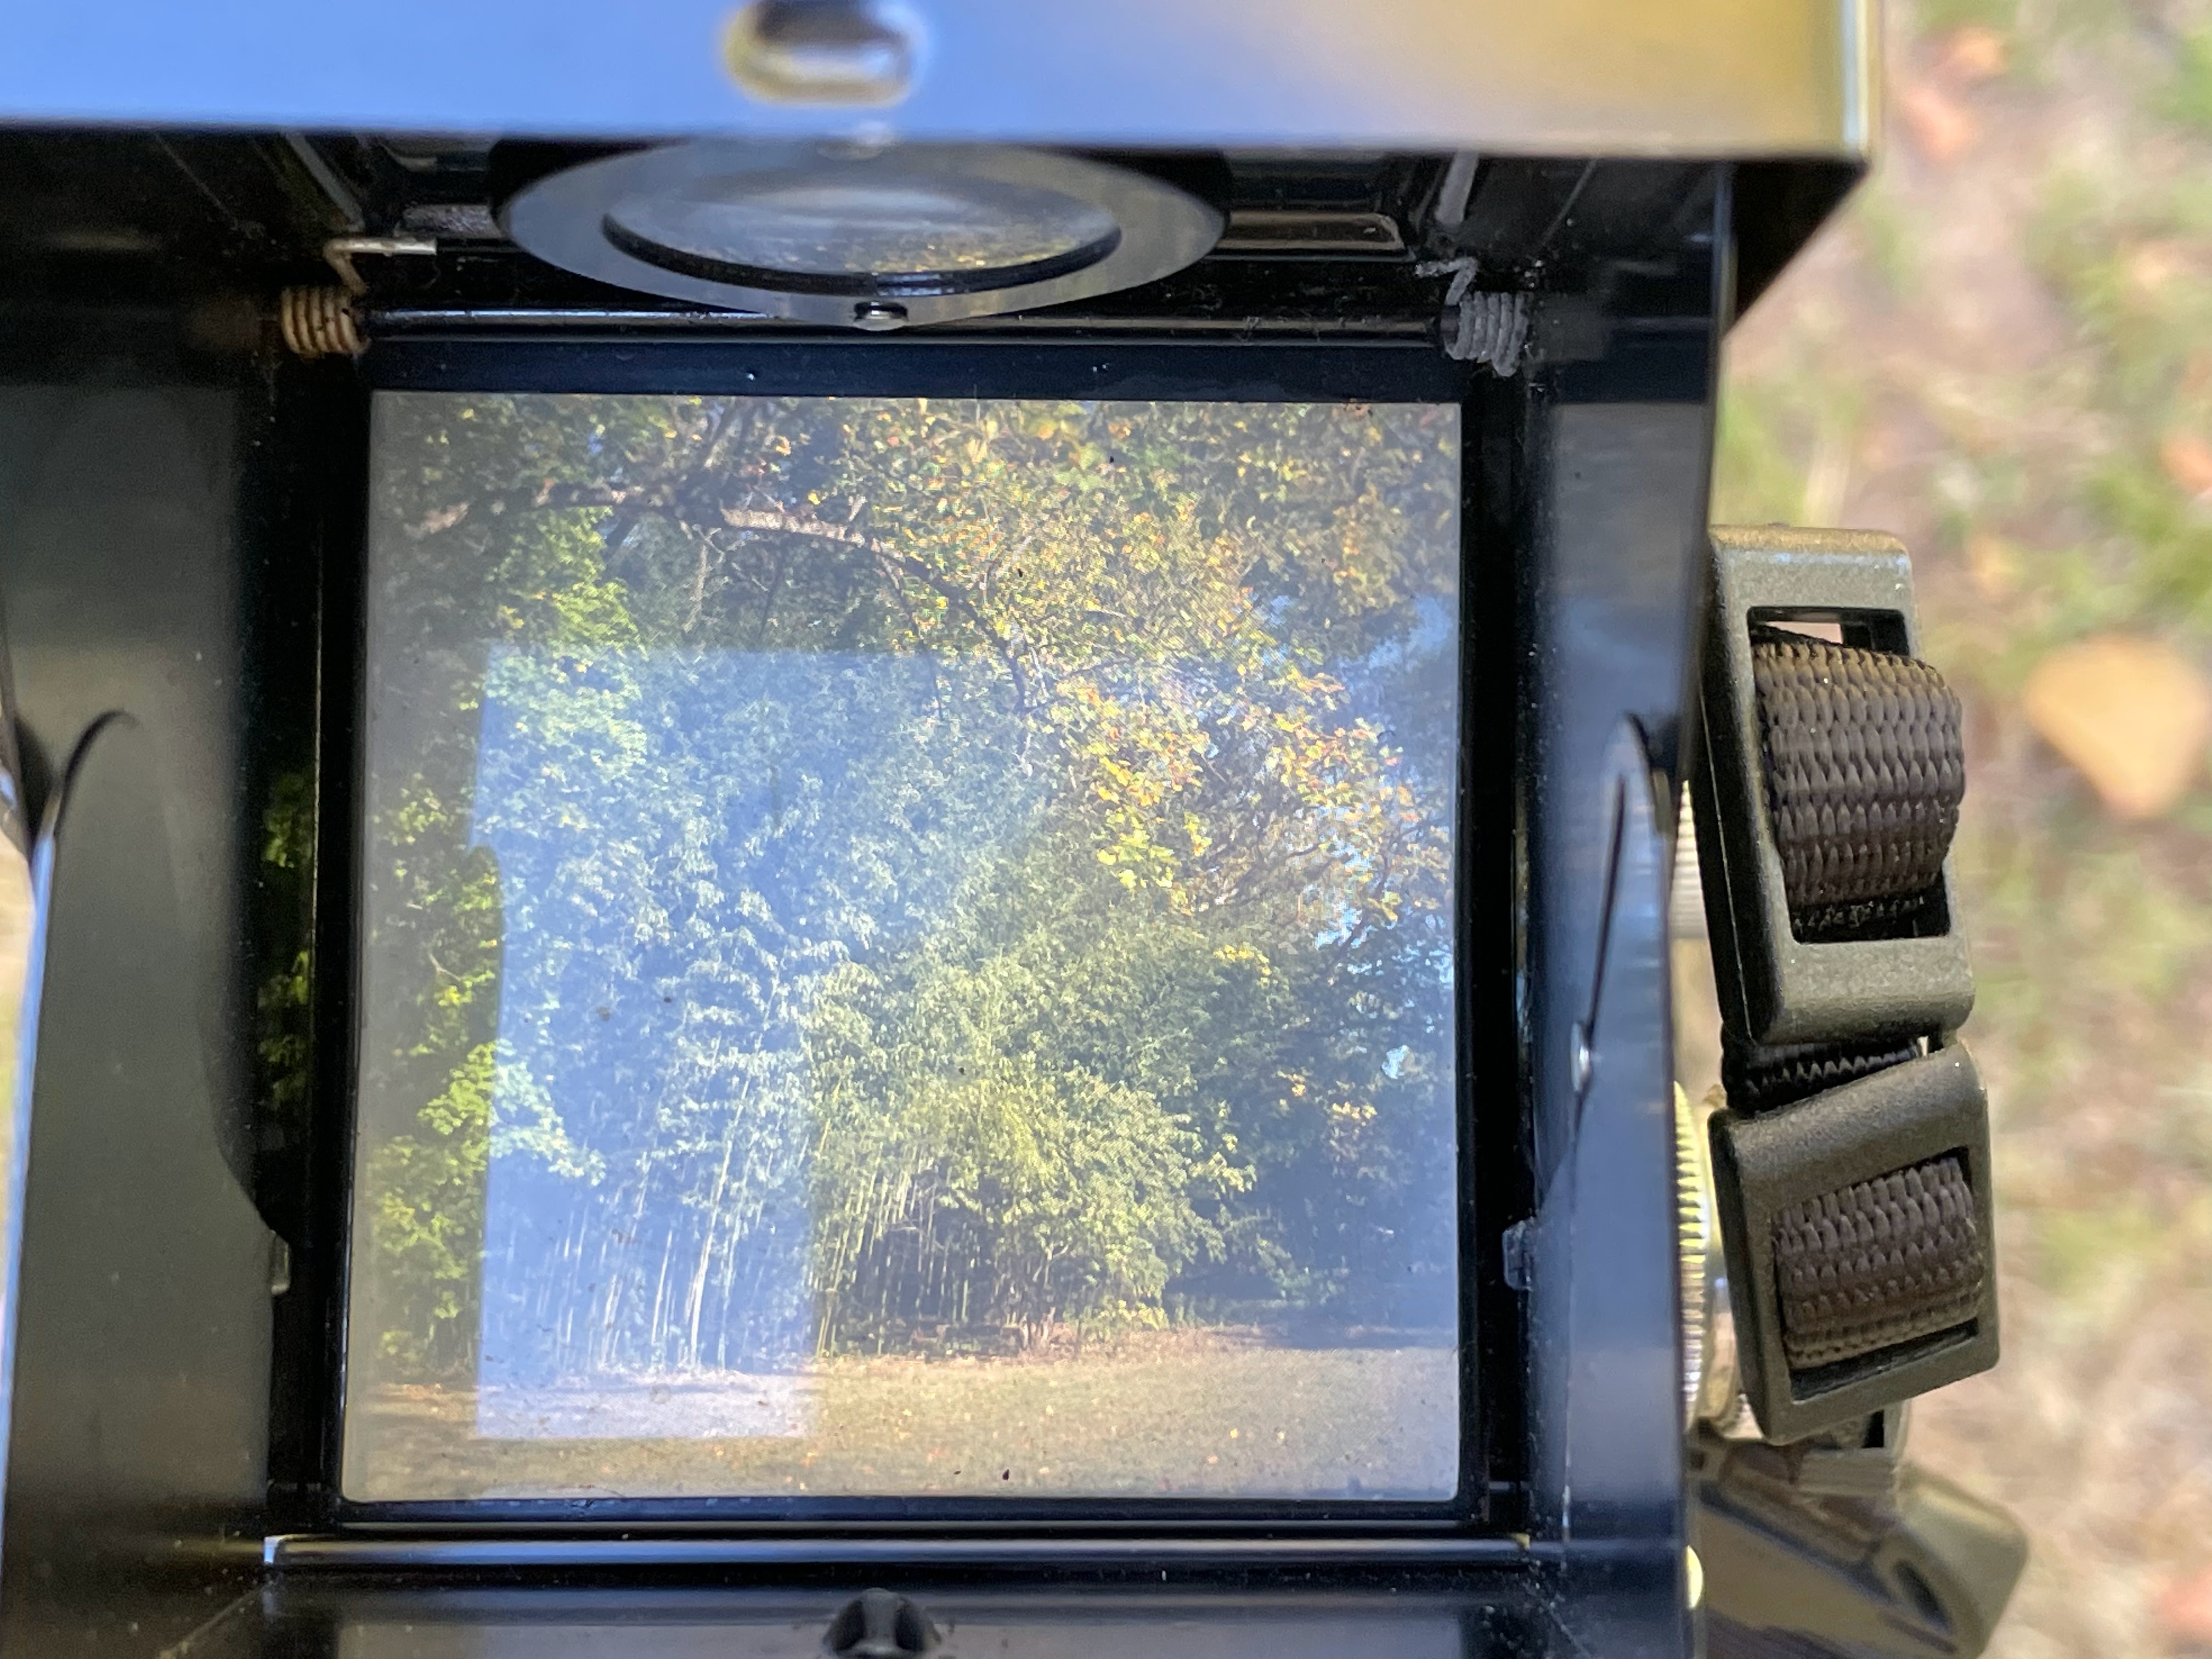
Normally the camera is held chest high so you look down at an image of the scene on the ground glass viewing and focusing screen. The image appears upright, but is reversed left to right. The camera focuses by moving the lens board. The viewing lens and the taking lens move together so that an image in focus on the ground glass will be in focus on the film. A fresnel lens under the focusing screen corrects some of the fall off of light in the corners that you get with a plain ground glass. There is a flip-up magnifying glass to help focus the camera. A folding hood shields the ground glass from stray light, but the image can still be difficult to see in bright sunlight. A lever on the back pops up the hood. The front of the hood folds back to make an open frame sports finder that you can look through with the camera held at eye level. The sports finder is useful when you try to follow fast action.
The focusing knob has distance and depth of field scales for zone focusing. The depth of field scale is based on a 0.066 mm circle of confusion.
The taking lens is a coated, f/3.2-f/22, 83mm, Wollensak Raptar lens. The lens is a Tessar type with four elements in three groups. It uses 1-5/16" (33mm) Series VI filter adapters.

The shutter is a set and release Wollensak Rapax Synchromatic shutter. The shutter has a speed ring that can be set to 1/400, 1/200, 1/100, 1/50, 1/25, 1/10, 1/5, 1/2 or 1 second, "B" for bulb or "T" for time. A socket for a standard cable release is provided. The flash synchronizer lever can be set to off (no flash), X-F (electronic flash or 5 millisecond delay flash bulbs) or M (20 millisecond delay flash bulbs). The shutter speed ring and the synchronizer lever should be set before the shutter is cocked. The synchronizer settings and shutter speeds are color coded. The black synchronizer settings are used with the black shutter speeds and the red synchronizer settings are used with the red shutter speeds. The flash connection is an ASA standard bayonet on the side of the camera. If you want to use a modern electronic flash you will need to find an ASA bayonet to PC sync connection adapter.

The camera takes size 120 roll film. To load film you open the back by pushing down the knob located near the top edge, putting the fresh film in the chamber at the bottom and threading the backing paper into the take up spool at the top. You close the back and turn the film winding knob until you see the number 1 in the red window, which puts the first section of film in position for taking a picture. The red window has a cover to prevent stray light from fogging the film. You open the cover while advancing the film and close it after the film is in position for the next picture. Because the camera does not have an automatic film counter, you space the pictures on the film by looking through the the red window at the numbers on the film. The film advance and the shutter are not interlocked. Accidental double exposures or skipped frames are possible. Graflex recommended advancing the film immediately after taking a picture. When all 12 pictures have been taken, you wind the roll completely onto the take up spool, remove the exposed roll from the camera and seal the roll. You then move the empty spool from the bottom to the top to be ready for reloading.
 |
The Model F is fairly easy to use. The image on the ground glass screen can be a little difficult to see in bright sunlight. The lens is reasonably sharp.


 |
| Children's Memory Garden, Centennial Park, Nashville, Tennessee |


